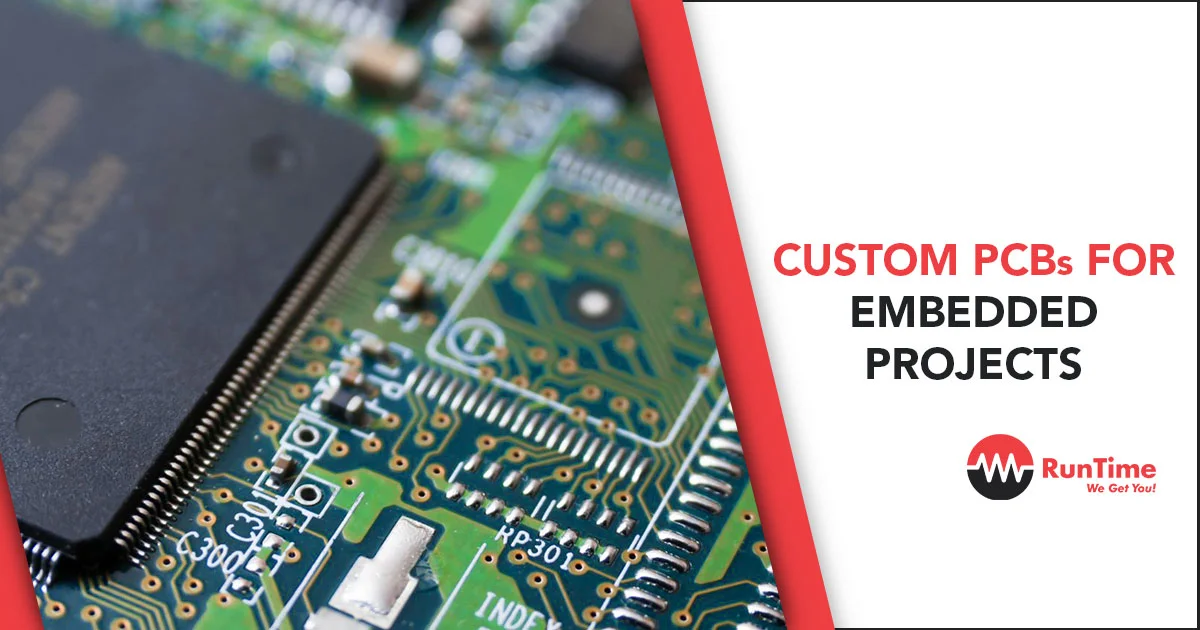
Custom Printed Circuit Boards (PCBs) are an essential component of many embedded projects. They provide a compact and organized way to connect various electronic components, enabling your project to function efficiently and reliably. While designing and manufacturing custom PCBs may seem daunting at first, this step-by-step guide will walk you through the process of creating your own PCBs for embedded projects.
1. Define Your Project Requirements
Before you start designing your custom PCB, it’s crucial to clearly define your project’s requirements. Consider the following aspects:
- Functionality: Determine the specific functions your PCB needs to perform.
- Size and Form Factor: Decide on the dimensions and shape of your PCB to fit within your project enclosure.
- Components: Make a list of all the electronic components (microcontrollers, sensors, connectors, etc.) you’ll need on your PCB.
- Power Requirements: Calculate the power requirements and voltage levels for your components.
- Budget: Establish a budget for your PCB design and fabrication.
2. Choose the Right PCB Design Software
Selecting the appropriate PCB design software is crucial for creating your custom PCB. Popular choices include:
- Eagle: A user-friendly tool suitable for beginners.
- KiCad: An open-source option with a robust feature set.
- Altium Designer: A professional-grade software for complex projects.
3. Schematic Design
The schematic design is the first step in creating your custom PCB. Follow these steps:
- Component Selection: Choose the components you identified in step 1 and add them to your schematic.
- Connect Components: Use wires and connections to link the components as per your project’s requirements.
- Label and Annotate: Ensure all components are correctly labeled and annotated with unique identifiers.
- Check for Errors: Run design rule checks to identify any connectivity or design issues.
4. PCB Layout Design
Once you have a verified schematic, proceed to design the physical layout of your PCB:
- Create a New PCB Project: Import your schematic into the PCB design software and create a new PCB project.
- Component Placement: Position components on the PCB layout, considering factors like signal flow and minimizing trace lengths.
- Routing: Connect the components using copper traces. Ensure appropriate trace widths for power and signal lines.
- Ground Plane: Include a ground plane to reduce noise and improve signal integrity.
- Signal Integrity: Run signal integrity checks to identify and resolve any issues related to signal quality.
5. Generate Gerber Files
Before sending your design to a PCB manufacturer, you need to generate Gerber files. These files contain all the information necessary for fabrication:
- Gerber Export: Use your PCB design software to export Gerber files, which include information about copper layers, silkscreen, and drill holes.
- Drill File: Create a drill file specifying hole sizes and locations for component mounting.
6. Choose a PCB Manufacturer
Select a reliable PCB manufacturer to produce your custom PCB. Consider factors such as turnaround time, cost, and quality. Some well-known PCB manufacturers include:
- PCBWay
- JLCPCB
- Advanced Circuits
7. Review and Order
Before finalizing your order, thoroughly review your PCB design and Gerber files for any errors or issues. Double-check component placement and trace routing to ensure accuracy.
8. Assemble Your Custom PCB
Once you receive your custom PCBs from the manufacturer, it’s time to assemble them:
- Component Placement: Carefully solder the electronic components onto the PCB.
- Quality Control: Inspect your soldering work for any solder bridges, cold joints, or misaligned components.
- Testing: Test your custom PCB to ensure it functions as intended. Use an oscilloscope, multimeter, or other testing equipment to verify its performance.
9. Integration with Your Embedded Project
Now that your custom PCB is ready, integrate it into your embedded project:
- Connections: Connect the PCB to the rest of your project’s components, such as microcontrollers, sensors, and power sources.
- Firmware Development: Write or upload the necessary firmware to control and interact with the custom PCB.
- Testing: Thoroughly test the integrated system to ensure it meets your project requirements.
10. Documentation and Maintenance
Document your custom PCB design, including schematics and PCB layouts. Proper documentation is essential for troubleshooting and future iterations. Additionally, plan for maintenance and updates as needed for your project’s lifecycle.
Conclusion
Building custom PCBs for embedded projects requires careful planning, design, and execution. By following this step-by-step guide and using the right tools and techniques, you can create reliable custom PCBs tailored to your project’s specific needs. Remember that practice makes perfect, and with experience, you’ll become proficient in designing and manufacturing custom PCBs for a wide range of embedded projects. Whether you’re a hobbyist or a professional, mastering the art of custom PCB design opens up countless possibilities for innovative electronic projects.
Hire the Best Engineers with RunTime Recruitment
Our expert team of engineers-turned-recruiters offers in-depth knowledge of technical recruiting in the engineering industry.
If your company is looking to recruit highly skilled engineers worldwide, contact us today and we will do the sourcing for you. Or if you’re an engineer looking for new opportunities, you can check RunTime Recruitment’s job site for job vacancies.


